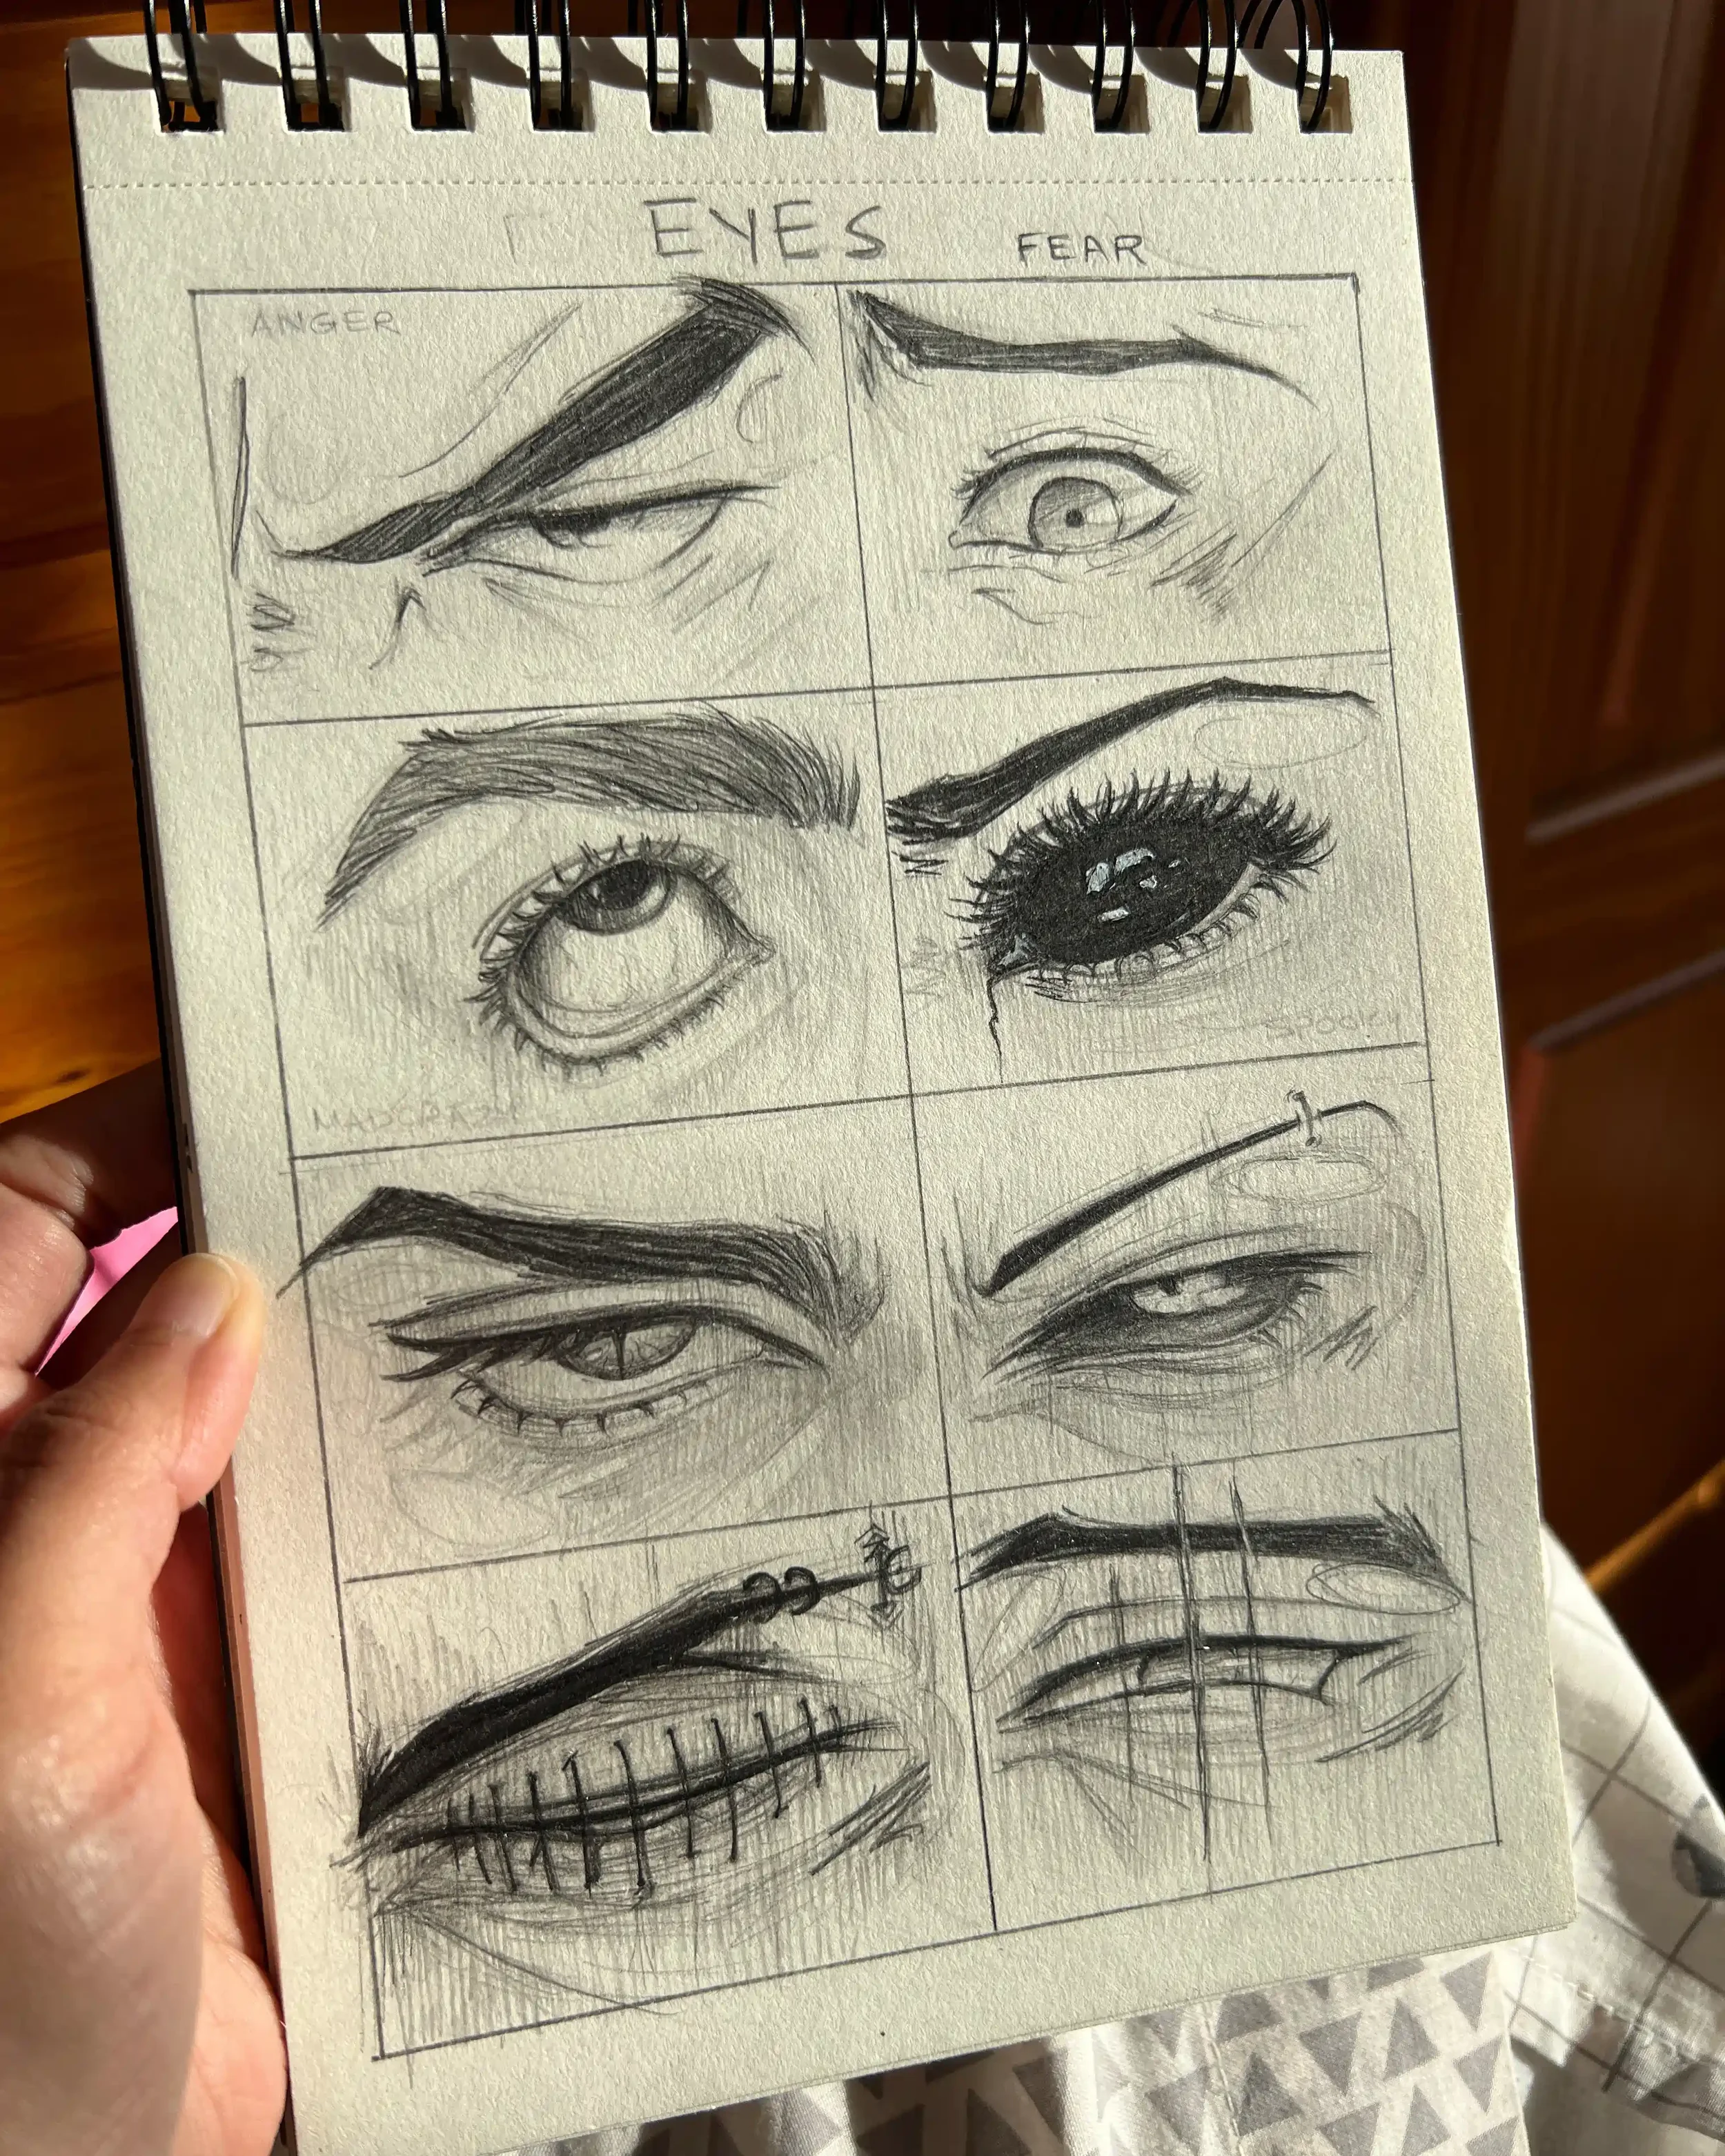
If you've ever looked at an anime character and wondered how the artist made those big, expressive eyes look so alive, you're not alone. Learning how to draw anime eyes is usually the first thing beginner artists want to figure out, and there's a good reason for that. In anime art, the eyes carry most of the emotion. A small change in shape, size, or shading can make a character look kind, mysterious, sleepy, or full of energy - without a single word of dialogue.
In this guide, we'll break down anime eye anatomy, go through an easy step-by-step drawing process, look at how male and female eye styles differ, explore chibi and other fun eye styles, and finally connect everything to overall face proportions so your characters look balanced and complete. If you've been searching for how to draw anime eyes in a way that's simple to follow, this guide walks through the whole process from blank page to finished sketch - whether you're working with a pencil on paper or drawing digitally.
Let's get started.
Why Anime Eyes Matter So Much in Character Design
Anime as an art style is known for its distinct facial features, and eyes are at the centre of that identity. Compared to realistic portraits, anime characters have larger, more stylised eyes that take up a bigger portion of the face. This isn't just a stylistic choice - it's a storytelling tool. Artists use eye shape, eyebrow angle, and pupil size to instantly communicate a character's personality and mood.
That's why so many beginners start here. Once you get comfortable with eye proportions and shading, the rest of facial drawing - noses, mouths, hairlines, and expressions - becomes much easier, because the eyes set the visual "anchor point" for everything else on the face.
Anime Eye Anatomy - Basic Shapes & Parts Every Beginner Should Know
Before picking up a pencil, it helps to understand what actually makes an eye look "anime style." Real human eyes and stylised anime eyes share the same basic parts, but the proportions and level of detail are very different.
Here are the core parts of an anime-style eye you'll be working with:
| Part of the Eye | What It Does |
|---|---|
| Upper eyelid | The thick top line that defines the overall eye shape |
| Lower eyelid | A softer, lighter curve below the eye |
| Iris | The large coloured circle that gives the eye its main colour |
| Pupil | The smaller dark circle inside the iris |
| Highlight / shine | The bright spot that makes the eye look glossy and alive |
| Eyelashes | Short lines at the corners that add detail and femininity |
| Eyebrows | Thin shapes above the eye that strongly affect expression |
Did you know? Anime eyes can take up nearly a third of the face's width, while real human eyes are usually closer to a fifth. That single proportion shift is one of the main reasons anime faces look so different from realistic portraits.
Once these parts make sense to you, the actual drawing process becomes a lot less intimidating - you're simply arranging familiar shapes in the right order, rather than guessing.
Tools for Sketching Anime Eyes - Pencil and Digital Options
You don't need a studio setup to begin. Most professional manga and anime artists started with a basic sketchbook and a couple of pencils, and many still prefer traditional sketching for early concept work.
For traditional (pencil and paper) practice:
A4 sketchbook or smooth drawing paper
HB pencil for light construction lines
2B and 4B pencils for darker outlines and shading
A soft or kneaded eraser for clean corrections
A fine-tip black pen for inking, if you want a finished line-art look
A blending stump or cotton swab for smoother pencil shading
For digital art:
A basic drawing tablet (entry-level models work fine to start)
Free software like Krita, or paid options such as Procreate or Clip Studio Paint
A round soft brush for sketching and a harder brush for clean line work
If you're unsure where to start, working with pencil and paper first is a great idea. It teaches you about pressure control, proportion, and shading without the distraction of software settings - skills that carry over directly once you move to digital tools.
How to Draw Anime Eyes Step by Step
This is the core of the guide. We'll go through a simple, beginner-friendly process for sketching an anime eye from start to finish. Keep your first lines light - you can darken them once the shapes feel right.
Step 1 - Sketch the Eyelid Shape
Start with a curved horizontal line for the upper eyelid - think of a wide, gentle "U" lying on its side, thicker in the middle and thinner toward the corners. This single line sets the overall mood of the character: a flatter curve looks calm, while a more rounded curve looks alert or surprised.
Below it, add a lighter, softer curve for the lower eyelid. In anime style, the inner corner often stays slightly open rather than fully closed.
Step 2 - Add the Iris and Pupil
Inside the eye outline, draw a large circle or oval for the iris. In anime art, the iris is usually bigger than in realistic drawing, and its top edge is often partly covered by the upper eyelid.
Inside the iris, place a smaller, darker circle for the pupil - slightly off-centre tends to look more natural than dead-centre.
Step 3 - Add Eyelashes and Eyebrows
At the outer corners, sketch a few short lines for eyelashes. For a softer, more feminine look, two or three lash lines work well. For a sharper or more masculine look, you can keep this minimal or skip it entirely.
Above the eye, draw a thin curved shape for the eyebrow. Its position, thickness, and angle have a huge impact on expression - try shifting it slightly to see how the mood of the character changes.
Step 4 - Shade and Add Highlights
This is where the eye really comes to life. Shade the lower half of the iris a bit darker, keeping the top lighter. Then leave one or two small areas uncoloured near the top of the iris for a glossy highlight - this "shine" is what gives anime eyes their signature sparkle.
Finally, go over your finished lines with a slightly darker pencil or pen, and erase any leftover guidelines.
Quick recap:
| Step | What You're Drawing | Tip |
|---|---|---|
| 1 | Upper and lower eyelid curves | Keep lines light and smooth |
| 2 | Iris and pupil | Make the iris noticeably large |
| 3 | Eyelashes and eyebrows | Adjust style for the character |
| 4 | Shading and highlight | Leave bright spots for the "shine" |
Repeating this sequence on its own - without worrying about the rest of the face - is one of the fastest ways to get comfortable with anime-style eye shapes and proportions.
Drawing Anime Eyes for Female and Male Characters
A common question is whether male and female Anime Eyes are drawn differently. The answer is yes, but the difference comes down to small adjustments rather than a completely separate process.
Softer, Rounder Eyes for Female Characters
For a typical female anime eye, focus on:
A larger, rounder iris and pupil
More lash detail, especially at the outer corner
Softer, more curved eyebrows
Bigger or multiple highlight spots for a "sparkly" feel
An eyelid line that lifts slightly at the outer edge
These small details give female characters a gentle, expressive look that's common across shoujo and slice-of-life anime.
Sharper, Narrower Eyes for Male Characters
For male characters, the same base shape works - just adjust it:
Make the eye shape a little narrower and more angular
Reduce or remove lash lines
Keep eyebrows thicker, straighter, and closer to the eye
Use a smaller highlight, or none at all
Add slightly sharper corners to the eye outline
These tweaks create a calmer, more serious, or intense look - common in shonen and action-oriented character designs. The underlying steps from the earlier section stay exactly the same; only the proportions and details change.
Exploring Different Eye Styles - Chibi, Expressions, and More
Once the basics feel comfortable, you can start experimenting with different eye styles. Anime isn't one single look - it covers a wide range of art styles, and eyes change quite a bit depending on a character's age, personality, and the mood of a scene.
Chibi-Style Eyes
Chibi characters are small, cute, exaggerated versions of regular anime characters, and their eyes follow their own simple rules:
Eyes are very large compared to the rest of the face
The iris and pupil fill most of the eye shape
Few or no eyelash lines
One big, simple highlight in the centre
Eyebrows are often left out for a softer, rounder look
Because chibi art leans into cuteness rather than realism, you have a lot of freedom with proportions here - "perfect" shapes aren't the goal.
Showing Emotion Through Eye Shape
The same basic eye construction can express very different emotions just by tweaking a few details:
| Emotion | What Changes in the Eye |
|---|---|
| Happy | Eyes curve upward, sometimes drawn as closed arcs |
| Sad | Lower eyelid lifts slightly, eyebrows tilt inward |
| Angry | Eyes narrow, eyebrows lower and angle sharply |
| Shocked | Eyes widen and round out, pupils shrink |
| Sleepy | Upper eyelid drops halfway, lines become softer |
A useful practice exercise is to draw the same character's eyes five or six times on one page, changing only the expression each time. This builds a strong feel for how small line changes shift the entire mood of a face.
How to Draw Anime Faces - Proportions and Structure
Eyes look their best when they sit naturally within a well-proportioned face, which is why this section focuses on overall facial structure. Once you understand basic head construction, fitting the eyes you just practised into a full face becomes much more intuitive.
Building the Basic Head Shape
Start with a circle for the upper skull, then add a smaller shape below for the jaw and chin. Anime faces are typically built with:
A rounded skull area
A tapered chin (more pointed for female characters, slightly wider for male)
A vertical centre line to keep both sides symmetrical
A horizontal guideline marking where the eyes will sit
This simple construction method is used by most professional character artists because it keeps proportions consistent and saves time on corrections later.
Placing the Features
Once your guidelines are in place, features typically fall into this order:
Eyes - on or just below the horizontal centre line
Nose - a small line or simple triangle, roughly halfway between the eyes and chin
Mouth - roughly halfway between the nose and chin
Ears - aligned between the eye line and the nose line
Jawline - a smooth curve from the ears down to the chin
Anime noses and mouths are usually kept minimal on purpose, which keeps the eyes as the clear focal point of the face - another reason why getting the eyes right has such a big impact on the final drawing.
Combining Eyes and Face Into a Finished Character Sketch
This is the stage where everything comes together. Many beginners can draw a decent eye and a decent face shape on their own, but combining the two smoothly takes a bit of practice. A simple workflow looks like this:
Sketch your face guidelines first - circle, jawline, and centre lines
Lightly place the eye shapes along the eye line, leaving roughly one eye-width of space between them
Add the nose, mouth, and ears using the placement guide above
Go back and refine the eyes - iris, pupil, lashes, eyebrows
Finish with hair, which should follow the curve of the skull and slightly overlap the forehead
Most well-balanced character illustrations follow this same order: rough placement first, detail last. Sketching the eyes early - but refining them last - keeps the overall proportions accurate from start to finish.
Did you know? The exaggerated "big eyes" look in anime is often traced back to Osamu Tezuka, a pioneering manga artist who was influenced by early Disney animation. That stylistic choice became one of the defining visual traits of anime as we know it today.
Adding Color and Final Touches
Once your line art is done, colouring is the next step many artists enjoy most. You don't need to be an expert in colour theory to get good results - a few basic ideas go a long way.
Base colours first: Fill the iris, skin, and hair with flat base colours before adding any shading.
Cel shading style: Most anime art uses simple, hard-edged shadows rather than soft gradients - this is called cel shading, and it's beginner-friendly because you only need one or two shadow tones.
Light source: Decide where the "light" is coming from in your drawing, and keep shadows consistent on that side for the eyes, hair, and face.
Colour palette: Pick two or three main colours for the character (hair, eyes, outfit) and stick to them - this keeps the design feeling unified rather than random.
Colouring is optional at the early stages. Many artists spend weeks just on line art and sketching before moving to colour, and that's a perfectly normal part of the learning process.
Practice Tips and Common Mistakes to Avoid
Practice is what turns these steps into an actual skill. Here are some common beginner issues and simple ways to work on them.
Common Mistakes (and Quick Fixes)
Eyes placed too high on the face - Double-check your horizontal guideline before adding detail.
Eyes drawn at uneven sizes - Sketch both eyes lightly side by side before finalising either one.
Adding detail too early - Keep the first pass simple; refine only after the overall shapes look correct.
Pressing too hard with the pencil - Light first strokes make corrections much easier.
Copying without understanding - Reference images are useful, but try to notice why a line is placed where it is, not just where.
Building a Practice Routine
Draw five different eye shapes every day for a week
Keep the same face shape but change only the eyes each time
Practise quick expression sketches - happy, sad, angry, surprised - using just the eyes and eyebrows
Study reference art, then try redrawing it from memory afterward
Keep a dedicated sketchbook for faces and eyes so you can track your progress over time
Did you know? Many professional manga artists fill entire sketchbooks with nothing but eyes and expressions before starting a full character design. Repetition like this is one of the fastest ways to build genuine drawing confidence.
If you'd like a complete, structured path through all of this - from basic shapes and anatomy to full character design - our beginner-friendly book "Design Your Own Manga & Anime Characters" walks you through everything with clear illustrations and exercises.Check out the book here →
Frequently Asked Questions
1. What's the easiest way to start drawing anime eyes?
Begin with simple shapes - an oval for the eye outline, a large circle for the iris, and a smaller circle for the pupil. Practise this basic shape on its own before adding lashes, eyebrows, or shading.
2. Do I need a tablet to practise these techniques?
No. A pencil, paper, and eraser are enough to learn the fundamentals. Many artists still prefer paper for early sketches because it's quick and distraction-free, and the skills transfer directly to digital tools later.
3. How long does it take to get comfortable drawing anime eyes and faces?
With regular short sessions - even 15-20 minutes a day - most beginners notice real improvement within a few weeks. Consistency tends to matter more than long, occasional sessions.
4. Are chibi-style eyes harder or easier than standard anime eyes?
Chibi eyes are generally easier, since they rely on fewer details and bigger, simpler shapes. They're a great entry point if you're just starting out.
5. What's the difference between manga-style sketches and anime-style sketches?
Manga sketches are usually black-and-white, line-based, and made for printed pages. Anime-style sketches often include colour and shading, closer to how animated characters are designed. The underlying eye and face construction, though, stays very similar in both.
6. Should I follow a structured guide, or just copy other artists' drawings?
A structured approach is much more useful early on. Copying without understanding proportions can lead to habits that are hard to unlearn later. Following a step-by-step process - even a simple one - helps you build a foundation you can apply to any character design afterward.
Conclusion
Drawing convincing anime eyes and faces doesn't happen overnight, but it becomes far more manageable once you break it into steps: understand the basic anatomy, practise the core eye shape, explore male, female, and chibi variations, and then connect everything to overall facial proportions. The most important part is consistent practice - every sketch, including the rough ones, moves you forward.
If you'd like a complete, beginner-friendly roadmap covering anatomy, expressions, and original character design from start to finish, take a look at "Design Your Own Manga & Anime Characters" by Shashwati Vahadane (@colorbysasha).
Happy drawing!